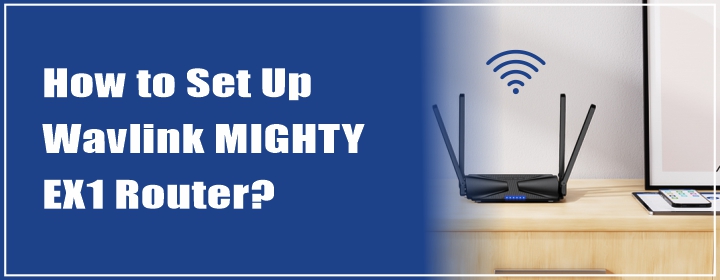
How to Set Up Wavlink MIGHTY EX1 Router?
Setting up the Wavlink MIGHTY EX1 router takes just a few minutes if you follow the right step right from the beginning. You’ll need to connect to the router, access the setup interface through your browser, and configure the settings that match your internet connection.
This isn’t a complicated process, but missing a step—like choosing the wrong mode or skipping the password setup—can leave you without a working connection. In this guide, we’ll walk through the exact process, using the ap. setup link and the correct method for a full Wavlink ap router setup, so you can get online quickly and securely. Whether you’re replacing an old router or building a fresh network, you’ll find everything you need right here.
Step 1: Unbox and Power It Up
Take everything out of the box—the router, power adapter, and Ethernet cable. Plug in the Wavlink MIGHTY EX1 router to a power outlet. The power LED should be on indicating it has booted completely before advancing to the next phase.
Though simple, still perform this carefully. Let the device settle before moving onto the setup.
Step 2: Connect to the Router
Now, using a laptop or phone, scan for available WiFi networks. You should see something like “Wavlink-XXXX” in your WiFi list. Connect to it. No password needed at this point.
Once connected, open any browser and type URL in the address bar. This is your gateway into the router’s dashboard. If the page doesn’t load, double-check you’re connected to the router’s WiFi—not your regular home network.
This step brings you into the core of your Wavlink ap router setup process.
Step 3: Choose Your Mode
After logging into the dashboard, the router will ask how you want to use it. You’ll get several options:
- Router Mode
- Access Point Mode
- Repeater Mode
- WISP Mode
If you’re replacing your main router, choose Router Mode. If you’re adding the Wavlink MIGHTY EX1 to boost existing coverage, go with Access Point or Repeater.
For most home users doing a basic wavlink ap router setup, Router Mode is the default choice. Tap it and hit Next.
Step 4: Configure Your Internet Connection
It is now time to connect the router to your modem. The Wavlink router’s WAN port should be connected to your modem’s LAN port via an ethernet wire.
The setup wizard will ask for your internet type:
- DHCP (most common)
- PPPoE (if your ISP gave you a username/password)
- Static IP (for advanced users)
If you’re unsure, go with DHCP. It works for most setups. Tap Next.
Step 5: Set Your WiFi Network Name and Password
This is where you personalize your WiFi.
Enter the name you want people to see when they scan for WiFi (like “SmithHome” or “NoFreeWiFi”). Then create a secure password—don’t leave it blank or easy to guess.
Click Apply to save the settings. The router will restart, and you’ll need to reconnect using your new WiFi name and password.
At this point, your Wavlink ap router setup is nearly complete.
Step 6: Test Everything
Reconnect your devices to the new WiFi network you just created. Open a browser or app and test your connection. If everything loads quickly and without drops, you’re good.
If you run into speed issues or signal problems, consider switching the mode to Access Point or adjusting placement.
And yes, if you ever need to re-enter the settings, you can always visit ap.setup again while connected to the router’s network.
Conclusion
Setting up the Wavlink MIGHTY EX1 router doesn’t have to be frustrating. Once you understand where to go, how to use the ap. setup, and which mode to choose, the rest falls into place. Whether you’re running a full Wavlink ap router setup or just extending an existing signal, the process is simple when you take it one step at a time.
And hey—if you mess up? Just hit the reset button on the back of the router and start fresh. Nothing’s permanent until you’re satisfied with the setup.