192.168.10.1
To setup Wavlink range extender and router via IP address 192.168.10.1, read the instructions below. You can configure your device in just a few minutes with the help of ap.setup or IP address.
Configure Wavlink Extender via 192.168.10.1
- To Wavlink extender setup, attach the Wavlink extender to the power outlet.
- Then connect the computer to the extender with Ethernet cable.
- Or use default network name Wavlink_XXXX to connect wirelessly.
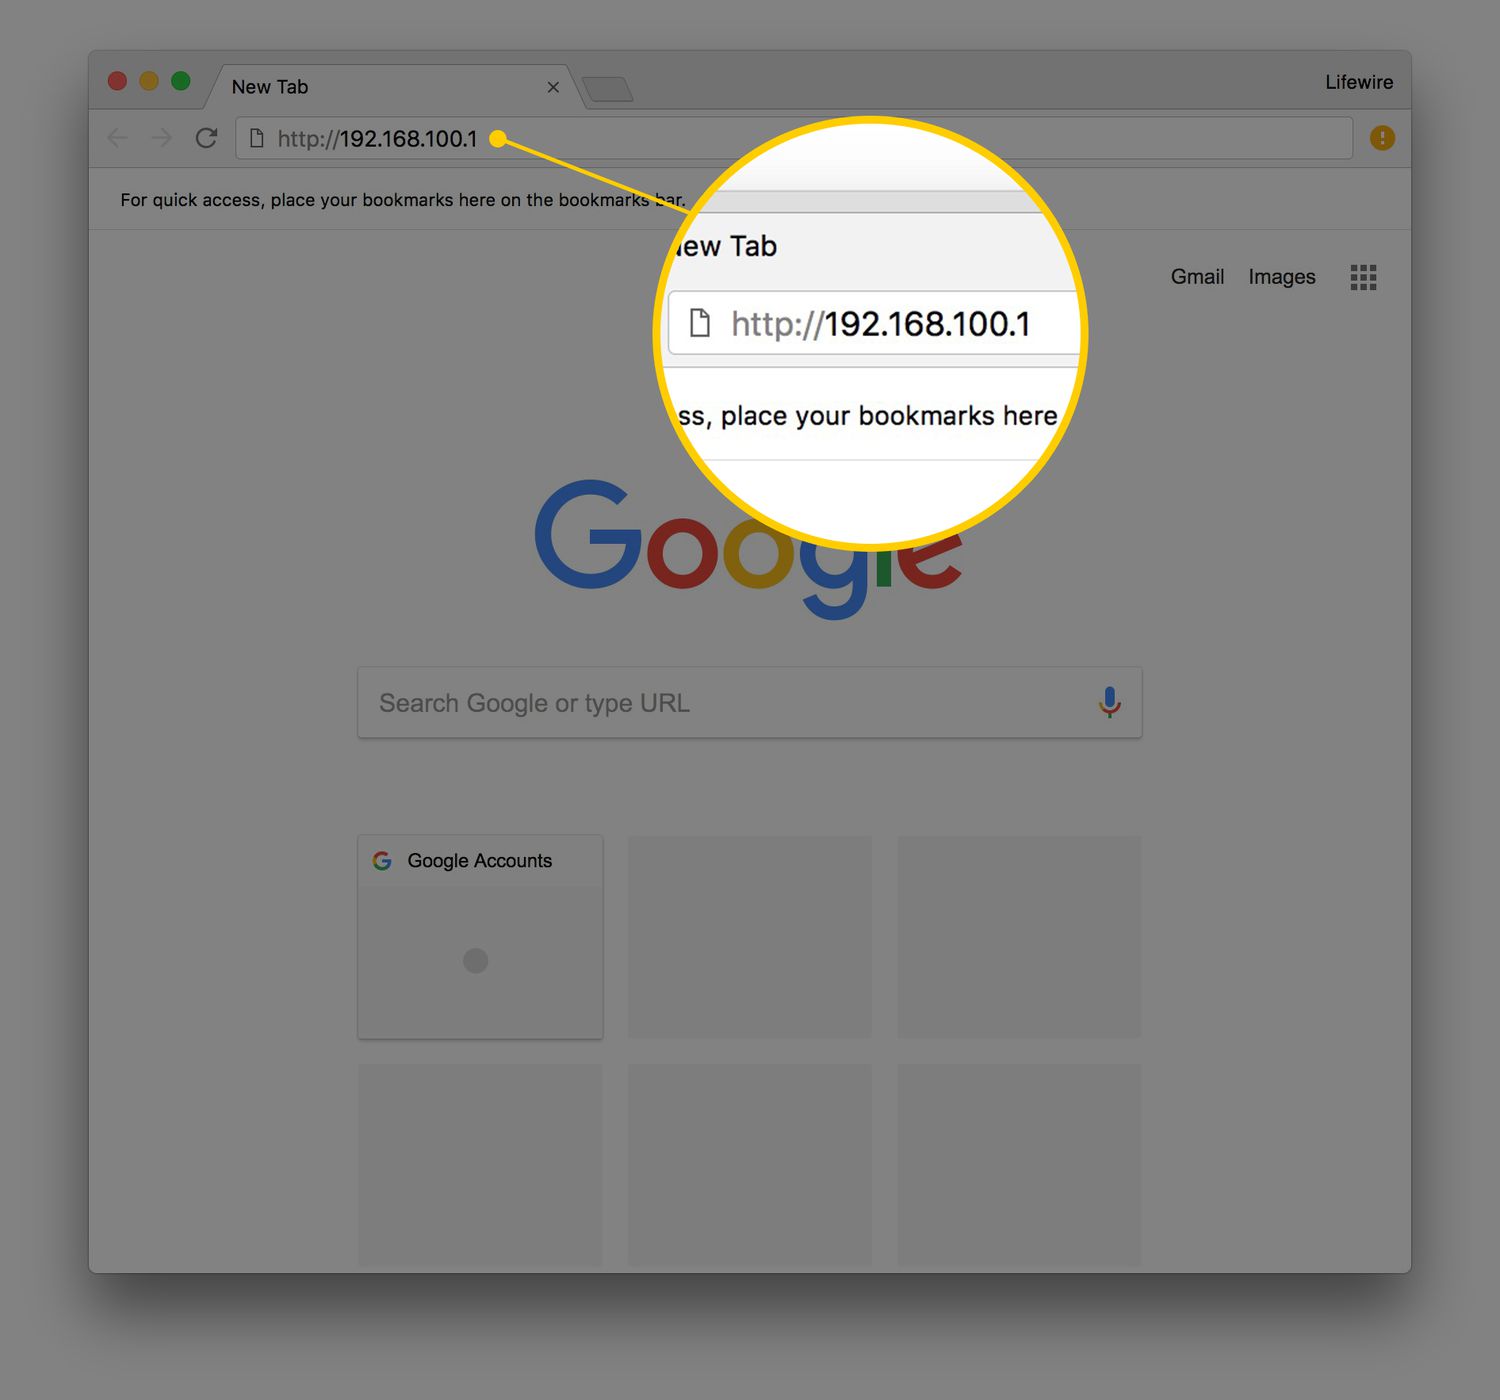
- Access the web browser and type the 192.168.10.1 in the search bar and press enter.
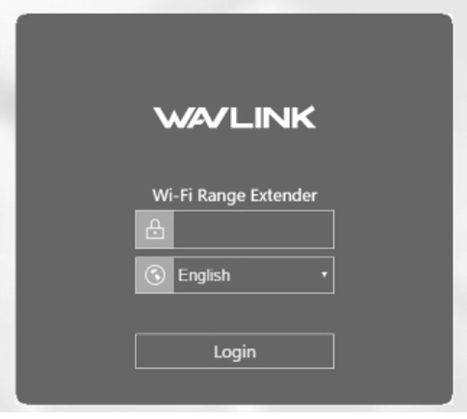
- Now you will see the Login page same as given below
- Fill the default username ‘Admin’ in the Field and click on Login button.
- You will come to the web interface of the Wavlink range extender.
- Here, open the Wizard option and click on the Repeater tab.
- Now you have seen the list of available network on the screen.

- Choose the WiFi network which you want to extend.
- Then click on the Connect button.
- Wait a couple of minutes till the Wavlink WiFi extender setup.
- At last, move the extender at that place where you faces slow internet signals.
This way you may configure the Wavlink WiFi range extender through the IP address 192.168.10.1. To Wavlink router setup via IP address read the further section.
Configure Wavlink Router via IP Address
- To begin, establish the router at mid location of the house.
- Take an Ethernet cable, and connect it to the modem.
- Attach power adapter to the router and plug it into power outlet.
- Also take Ethernet cable and use it to establish a connection between router and computer.
- You can also connect the computer to the default network name WAVLINK_XXXX
After completing the above steps, it time to login to the Wavlink router via IP address. Don’t miss any step.
- Go to any web browser and type IP address 192.168.10.1 into search bar.
- Here you will see the login page, enter ‘admin’ into the Username field.
- In many cases, you will need to check the user manual and label on the router for username.
- Press enter; you will go to the web interface of the Wavlink router.
When you will comes to the Wavlink router’ interface, here you can manage various settings or tasks such as update latest firmware, see the list of connected device and select band frequency etc.
Change the Network Name and Password through IP Address
- Make a connection between Wavlink device and the computer.
- Open any web browser and enter IP address 192.168.10.1 into address bar.
- Now you require filling the login credential to login.
- If you have set the Admin login detail before.
- Then you have been entering that login username and password.
- Otherwise type the ‘admin’ in the username field and click on Login button.
- You will enter into home page of the Wavlink’s web interface.
- Here go to the Wireless option and then select the Security tab.
- Scroll down and find the Network Name/SSID to change the network name of the network.
- And to change password, use the WPA3 or WPA2 and enter the password which you want to set.
- Then click on the Apply/Save button.

After that you will successfully change the network name and password of the any Wavlink device. If you are unable to connect via 192.168.10.1, then you have been use the troubleshooting tips to solve it.
Troubleshooting Tips
Ensure the Browser is updated
Sometimes users use outdated web browsers to access the login page of Wavlink. Due to which when they enter the IP address in the address bar; the browser shows an error message. Also clear the cache and cookies of the browser before logging into the Wavlink device.
Use the Correct IP Address
Most of the time users don’t know the correct IP address to access the login page, and they enter the wrong IP like 192.168.10.I etc. They enter I instead of 1 or make many more mistakes in entering the IP. Here you need to use the user manual or label present on the device for the correct IP address.
Make Sure Device is Connect to Wavlink
You do not access the web interface, until you will not connect your computer or mobile device to the Wavlink’s network. Attach your device to the default network named WAVLINK_XXXX, and then use the updated version of the browser or Correct IP address to login successfully.
 WiFi Wavlink Setup